My first Article for Polyspice covered a game called Piffle, which I had some fun with and can wholeheartedly recommend to casual players. But…After all that candy, I wanted something deeper. Something more thoughtful and intellectually filling. If Piffle was the Mobile Game equivalent to Candy, then Labyrinth of the Witch is a big & beefy Steak. And so once it caught my eye and captured my fancy a number of times, it became the topic I wish to analyze today for you.
Premise
Labyrinth of the Witch/LotW is a Roguelike. Which means that every death takes away virtually everything you were carrying. There is a distinction to be made between RogueLite and Roguelike here, but I feel the player loses enough with each death to qualify as a Roguelike and doesn’t keep enough progress to describe it as a RogueLite.
Another element crucial to the Roguelike genre that LotW proudly upholds is its Pseudorandom/Procedural Level Generation. Even if you play a thousand times, your world will have a differing Layout each time. This prevents the Player from simply Memorizing paths and Loot and progressing through Trial and Error.
Roguelikes appeal to me for their Accessibility. (That sounds insane, let me explain.) I can pop into a Roguelike and attempt a run any time. I rarely have to remember where I left off since generally I’m starting from scratch every time. So I suppose I should clarify, I enjoy their Accessibility for Me and they satisfy my particular tastes. LotW lets me make Risk Assessing decisions, to gamble with solid stakes. I enjoy that sensation of Consequence that comes with Permadeath, the gravity of each decision.
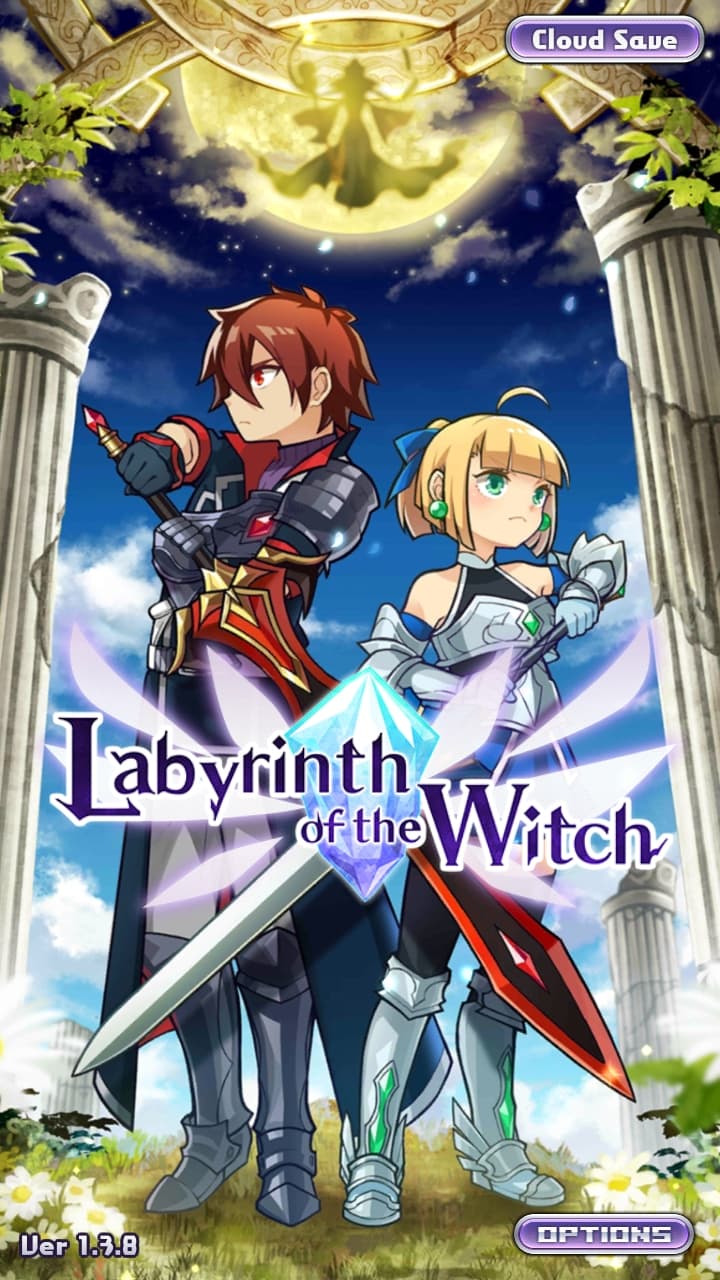
And in the case of LotW, the cute Anime Pixel Art style satisfies my far less intense desire for as much cuteness as can be fit into my gaming experiences.
So now you know what makes Me love the game, Let’s start talking about how You will go about Playing the Game.
Gameplay
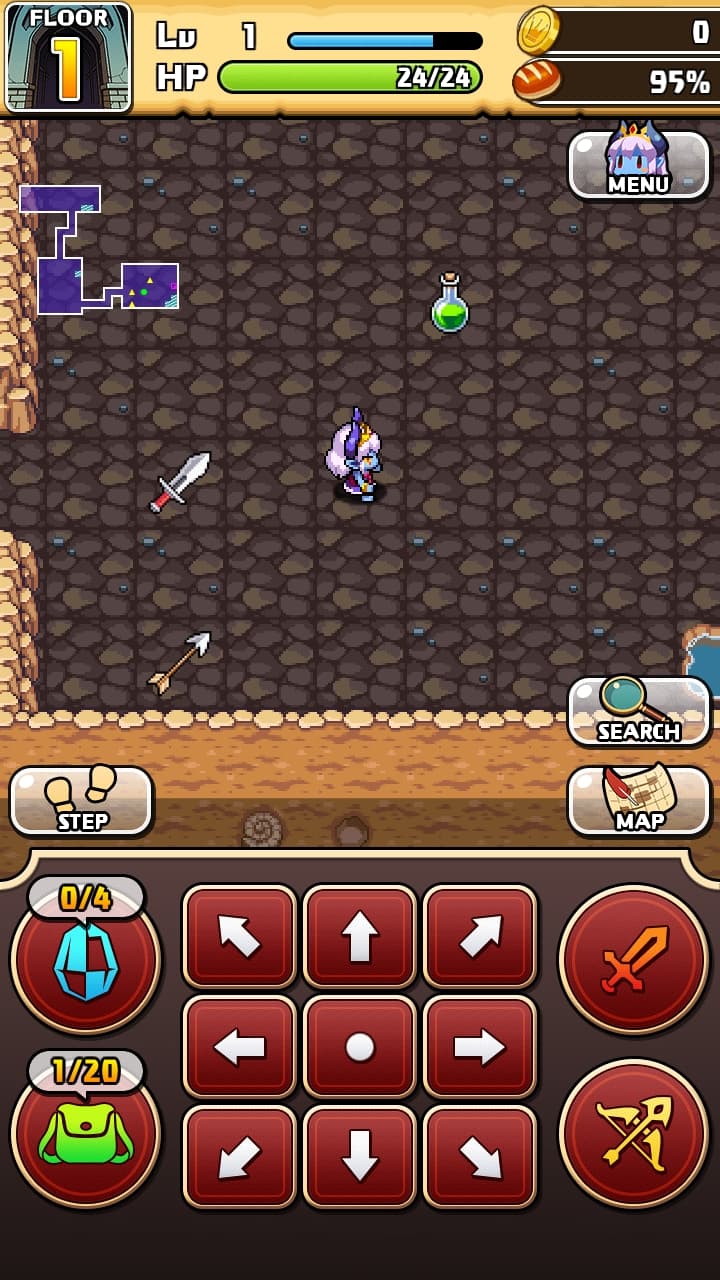
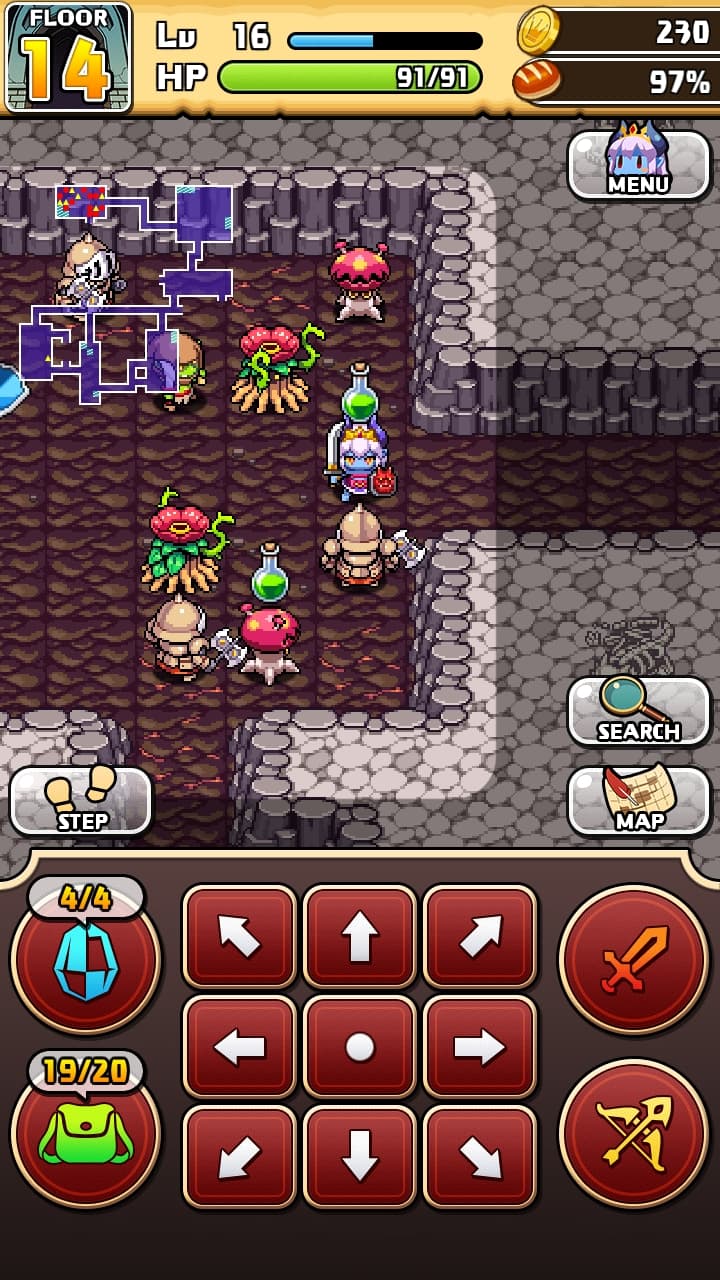
On the lower end of your Device, you’ll see multiple Icons. The Arrow Keys will allow you to move in the Direction they point, the Search Icon will let you look down at whatever is at your Feet, the Bow and Arrow Icon will let you let loose an Arrow towards wherever you are looking, and the Inventory Icon will look into your Inventory Bag so you can see what stuff you are carrying. The attack button depicts a Sword, and the button for accessing Magic Stones depicts a Magic Stone. I adore the simplicity and Accessibility of this Control Layout.
Movement throughout LotW takes place upon a Grid and is Turn Based, with everyone everywhere moving more or less Simultaneously.
There are Rooms and there are Halls, Rooms being the Open spaces where most Items and Enemies will be found, and Halls being the Dark (Visibility Poor) and narrow paths that connect Rooms to one another.
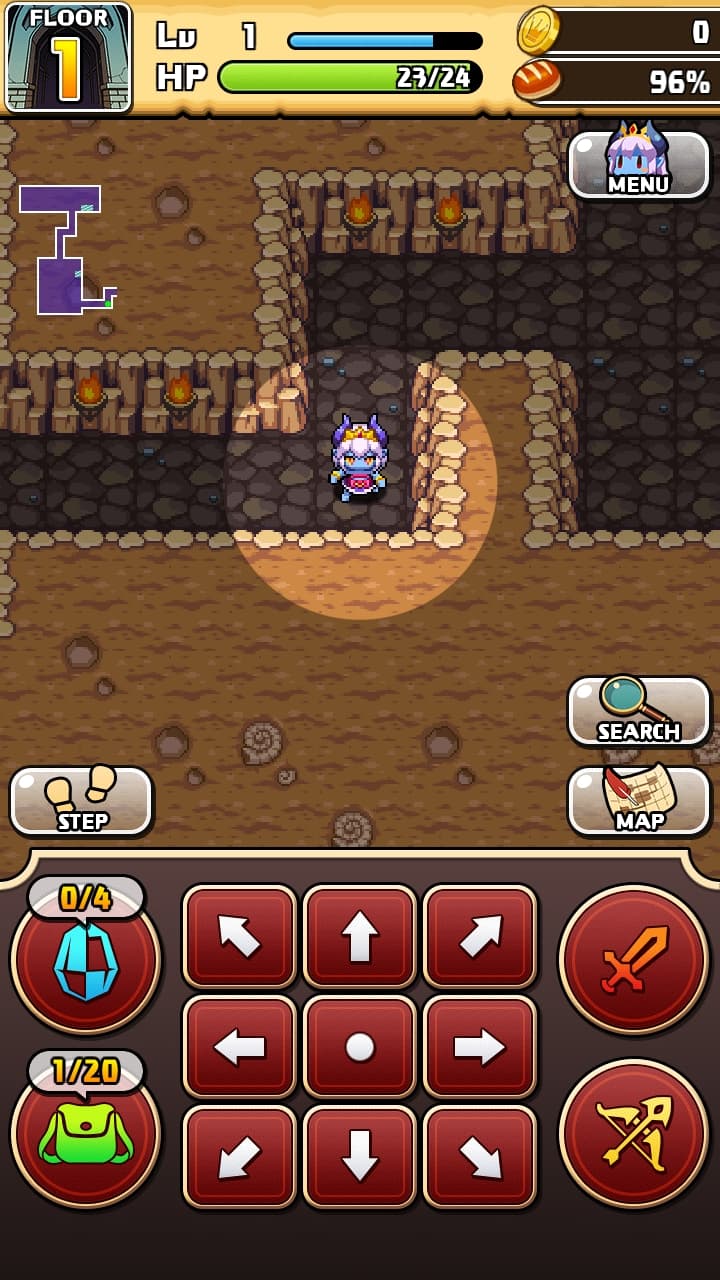
You’ll start with no shield, no weapon, and at LV1 (Level 1). This means your Defense and Offense stats will be very low until you find at least a Shield or Sword and Equip them. Your Player LV will increase when you have gained enough EXP (Experience Points). EXP are gained through defeating the various Monsters you encounter, and once you have enough you will gain a Level to LV 2 and so on. Each LV gives you extra HP (Health Points, ATK (Attack) and DEF (Defense) to help you along your way.
Something you’ll also always start with, is a full Stomach. This means you’ll have some time to find food before you start being in danger of starvation. The Hunger system exists as one way the game forces you to manage your Inventory and your Time. By Default, you can carry up to 20 Items at once, with stacks of any one type of Arrow being an exception and taking up only one Slot per type of Arrow. By eating Bread, your Stomach will fill by 50%, and so I always try to have two even if it takes up 1/20 of my Inventory space each. Every few turns, your Stomach will deplete by 1%, and when it reaches 0% you’ll start taking Starvation Damage until you Die or get some food into your system. Don’t go killing monsters willy nilly only to die of an empty stomach!
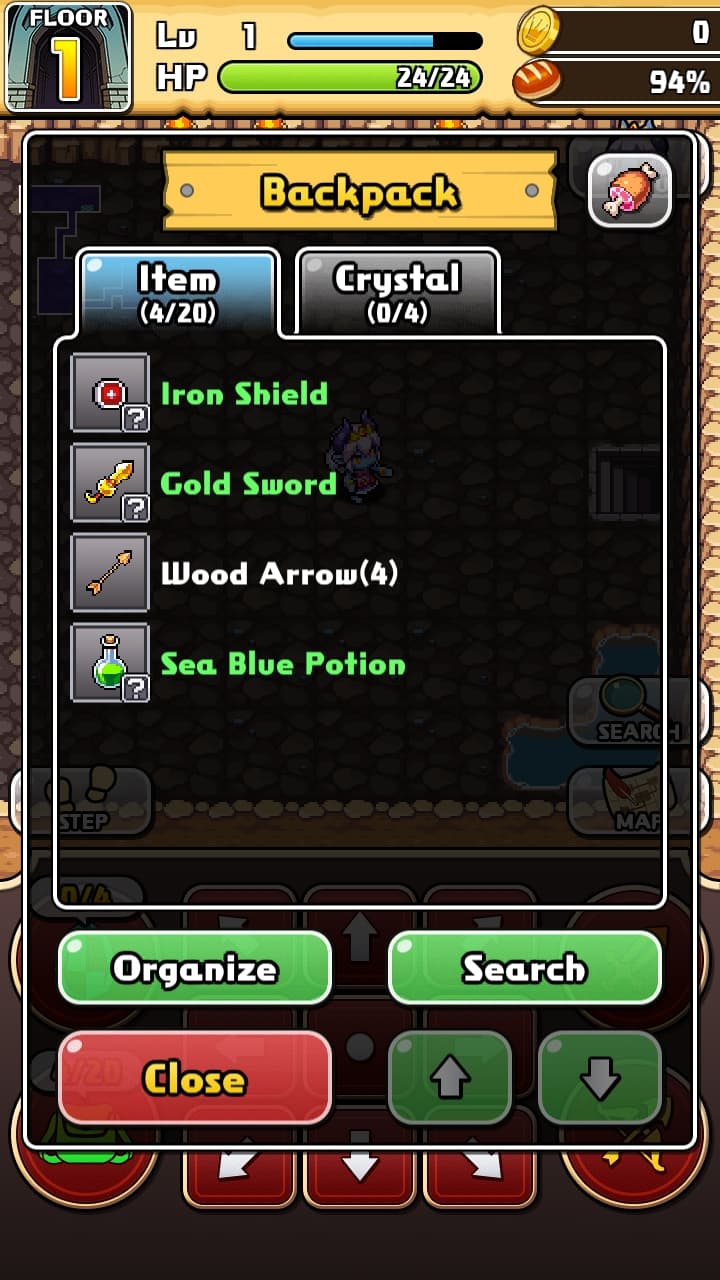
The first item I always look for is a Weapon. So long as you have a reasonably full Stomach, you’ll Heal damage over time. So my first Priority is wiping out Enemies as quickly as I can, and beggars can’t be choosers. Weapons vary, but in general all of them will do more damage than attacking Barehanded.
Similarly, I will take any Shield I can get my grubby mitts on. If later I have a better Sword or Shield and pick up what looks like an inferior one, I’ll Throw it at an enemy to score some free Ranged damage and get rid of the Item. You’d be surprised how often a little extra damage dealt to an enemy can turn the tide of battle. Note that Rings and Food to my knowledge don’t do much damage at all, since they lack the weight needed to really wallop something.
Rings! I love Rings. They often will Buff something, though bad Rings exist that will smack you with a bad effect coupled with a Curse for good measure.
Curses are a hazard inherent to all equipment, any Unidentified Equipment may be hiding a Curse, which prevents you from taking off the usually terrible piece of equipment. They’re cured with a Purification Scroll which will be covered later.
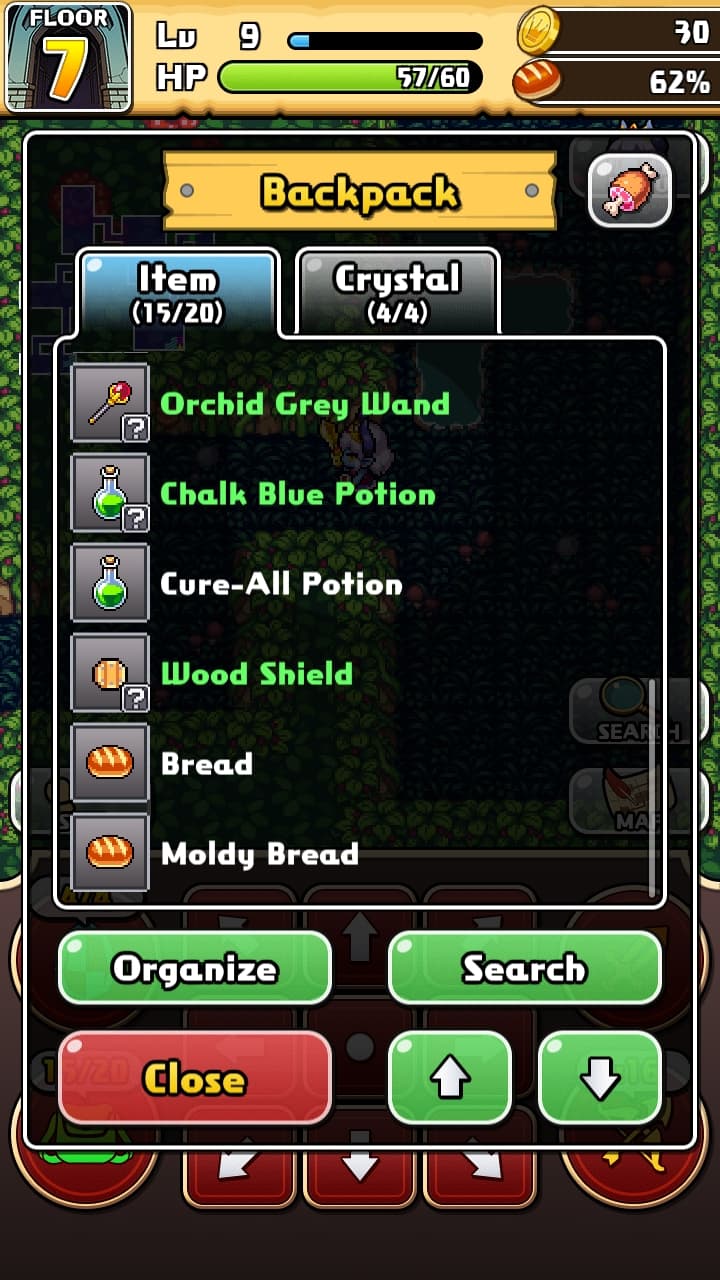
Potions, these are kind of an RPG staple. And in LotW as with most Roguelikes, they do not start off Identified. So you won’t know what that Cyan Potion does until you Drink it or shatter it on somebody else by Throwing it at them and observing the Effect. Every time you start a New Game, the Colors and their corresponding Effects will be Randomized. This helps prevent memorization of what is what, and helps create that “Treading the Unknown” kind of Tension I so adore in my Roguelikes. Anyway, should you choose to Drink an unidentified Potion, it will at least fill your Stomach by 5%. What it does beyond that point is anybody’s guess!
Personally, I recommend using up Unknown Potions if you are in good shape and should be able to Survive whatever they might do, so that at least you learn their Effect while in a Controlled Environment rather than the Heat of Battle. Especially if you know you have a Cure All Potion on hand to counter any Poison or other Negative effect.
These potions may inflict Leadfoot, Blindness, they may Warp you to another point on the Map, there are a lot of possibilities both Good and Bad to consider and Potions allow you to Use them on Yourself or on your Enemies.
Wands are similar to Potions, but they cannot be used on yourself. Instead they are Zapped in one of the Eight Cardinal Directions and will only be identified if you can see what Effect they cause (Or don’t cause). Wands may Swap positions between you and the Enemy. They may Damage the Enemy. They may Split the Enemy and cause you to deal with Two of them at a Time. Because of the nature of Wands, I recommend they be treated with more caution than Potions. On the bright side, they are Multi Use items. Even if you don’t know the number of Uses (Called Charges) they are carrying.
You’ll know the exact number of Charges by using an Identify Scroll or you’ll know it’s Zero when you attempt to Zap and nothing happens… SOOO don’t depend on an Unknown wand by any means for anything. A wand may be thrown once however, and this will both break the wand while also triggering its Effect on an Enemy once. This way you can milk an extra Charge out of a completely Drained Wand without any guesswork involved.
Scrolls are Single use with Effects comparable to Potions and Wands, but can Affect Equipment and their Effects tend to be more powerful. For instance, a Scroll of Shock will damage every enemy in the Room, and a Scroll of Leadfoot will give them all the Slowing Leadfoot effect. Scrolls can also Lift Curses and Enhance Armor or Weapons.
Curses are actually a type of Effect that prevents you from removing a piece of Equipment, trapping you in what will probably be a crappy set of Armor or with a Ring that makes you Hungry faster. Therefore Purify Scrolls are great to have ONE of at a time if you feel like trying on a bunch of unknown equipment, since they lift ALL curses on your Equpped items at once, but having more than one at a time is usually a wasted space in my experience. Especially after you already have a good Equipment combination going forward.
Some Scrolls will help you by letting you see All Items on the Floor, All Enemies on your Map, or Reveal the entire Floor Layout for easier Navigation. Using these tends to be best used early in a Floor. Personally I stupidly horde these Scrolls by nature, since using them and finding a Floor to have very few enemies or Items or Rooms can feel like a waste, but in reality even finding out a Floor offers little of value to you is still a valuable boon that is always useful in and of itself and so I hope you don’t repeat my common mistake here.
Arrows may not come into the dungeon with you, but thankfully your Bow does, enabling you a reliable Ranged attack once you find Arrows. Stacks of Arrows only take up One Inventory Slot per Type, and you may Equip or Shoot them from your Inventory Menu. Equipping anything takes a Turn, but doing so will let you fire as many Arrows as you like by pressing the Shoot button instead of opening your Inventory to fire each Shot. As with most items, these are Tiered according to their Material. Wood, Iron, Gold, Holy etcetera. Gold arrows are strange in that they do less damage than Iron but will Penetrate through targets dealing damage to each enemy they Hit.
I tend to horde Gold and Holy Arrows, and will usually freely expend my Wood Arrows on anybody that might land a hit on me in order to keep my Slots as Open as possible.
Monster Crystals
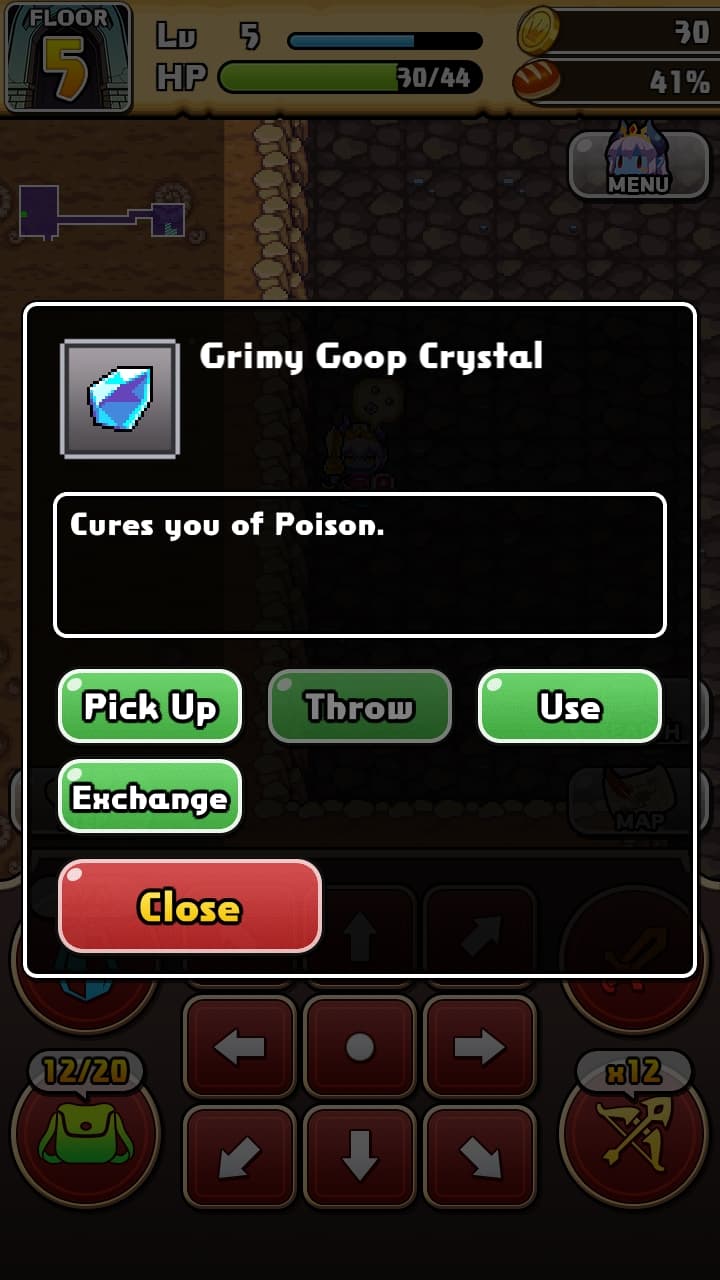
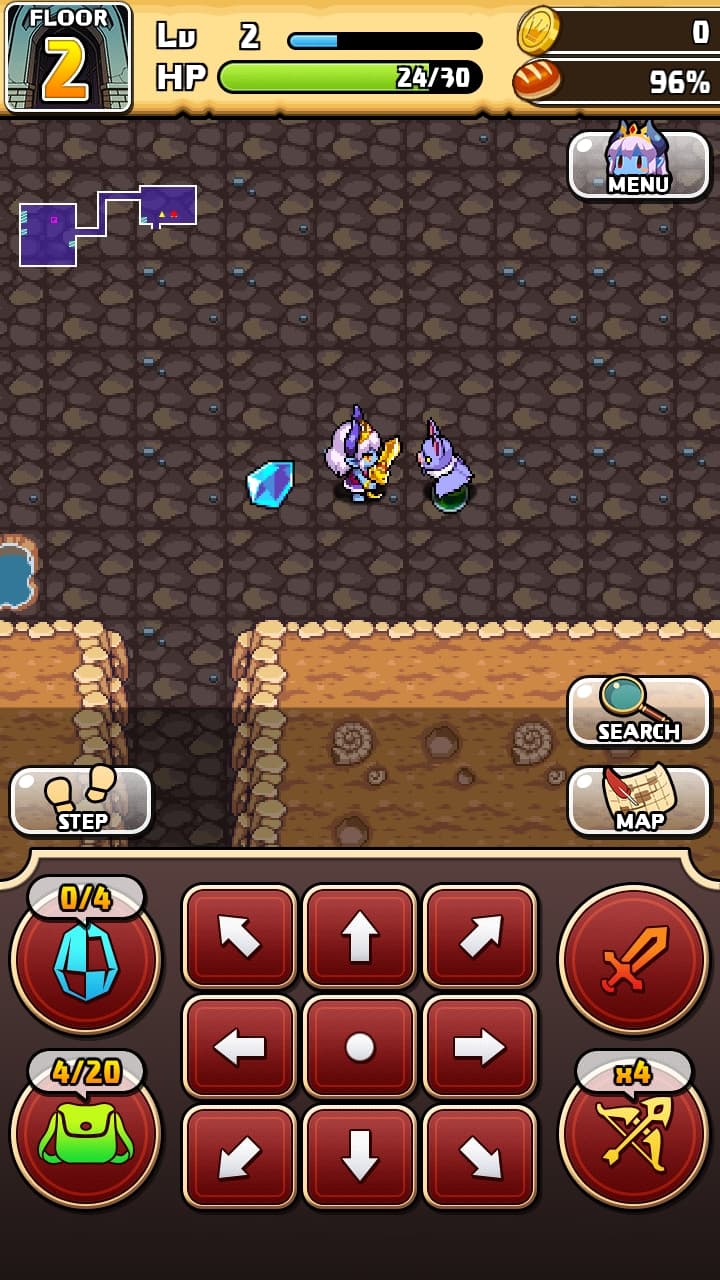
In addition to these other items, Monster Crystals are Single Use items that have Effects of all sorts. Each Monster has a Chance of dropping their particular type of Crystal with their own unique Effect and Animation. These are collected in their own designated storage, and some Playable Characters carry more than others. The Default Player Character of Claire can hold up to 3 at a time and again these Slots are NOT part of your Regular Inventory. All I can advise you to do is to use your best judgement with these. Often I’ll find that making heavy use of them pays off handily since you’ll be killing a lot of enemies and each can drop their own special kind of these. However, you may find one you want to keep holding in case of emergencies since they have powerful effects sometimes.
DLC
While there are Three characters you can Purchase with Real World currency, I’m reviewing the Base (Free to Play) game and don’t want to say anything one way or another. Apart from that I love all of their Character Designs.
Labyrinths
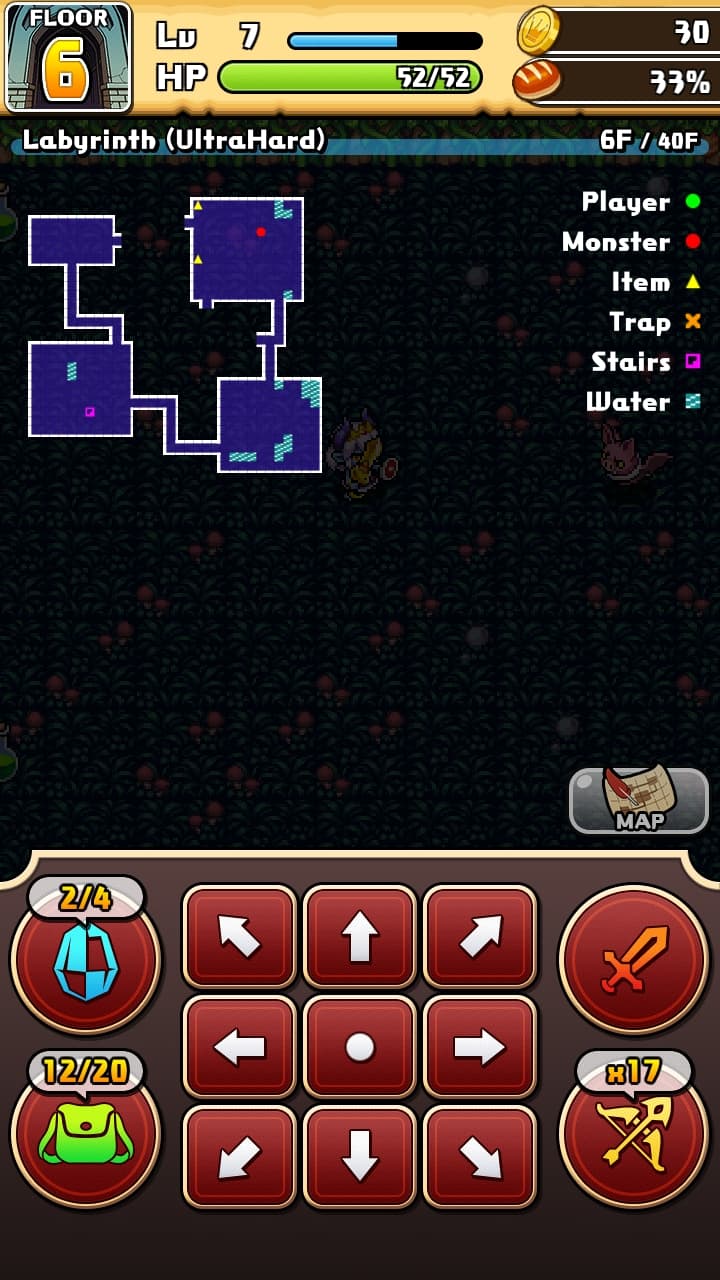
Sooo these are what you go to when you wanna actually Play the game. These are the Dungeons, the Procedurally Generated Series of Maps you will traverse on your Quest. Since these are Procedurally Generated, they primarily differ in Difficulty and Length, with Labyrinths after Easy having more Floors, Harder Enemies, and better Equipment to be found. You can actually choose to take items into these with you if you have brought any back from previous adventures or purchased them from the Store. But everything you are carrying will be lost upon your Death. The only way around this is putting them into Storage instead of taking them with you.
Store/Storage
Sooo Enemies will sometimes drop Gold. This is a place to Spend it, as well as a place to Sell unwanted items. Items brought into dungeons can give you an Advantage if you are stuck, but personally I prefer playing this as a Traditional Roguelike as I enjoy the Tension. This is the part where LotW is debatedly a RogueLite, though I think it’s more of a Roguelike Coffee served black with a handful of Sugar and Creamer packets. The Storage facility can be expanded, but by Default it lets you keep some items in reserve to bring on a later Run. Handy if you don’t feel like you’ll need that extra Identify Scroll but want to keep it on hand.
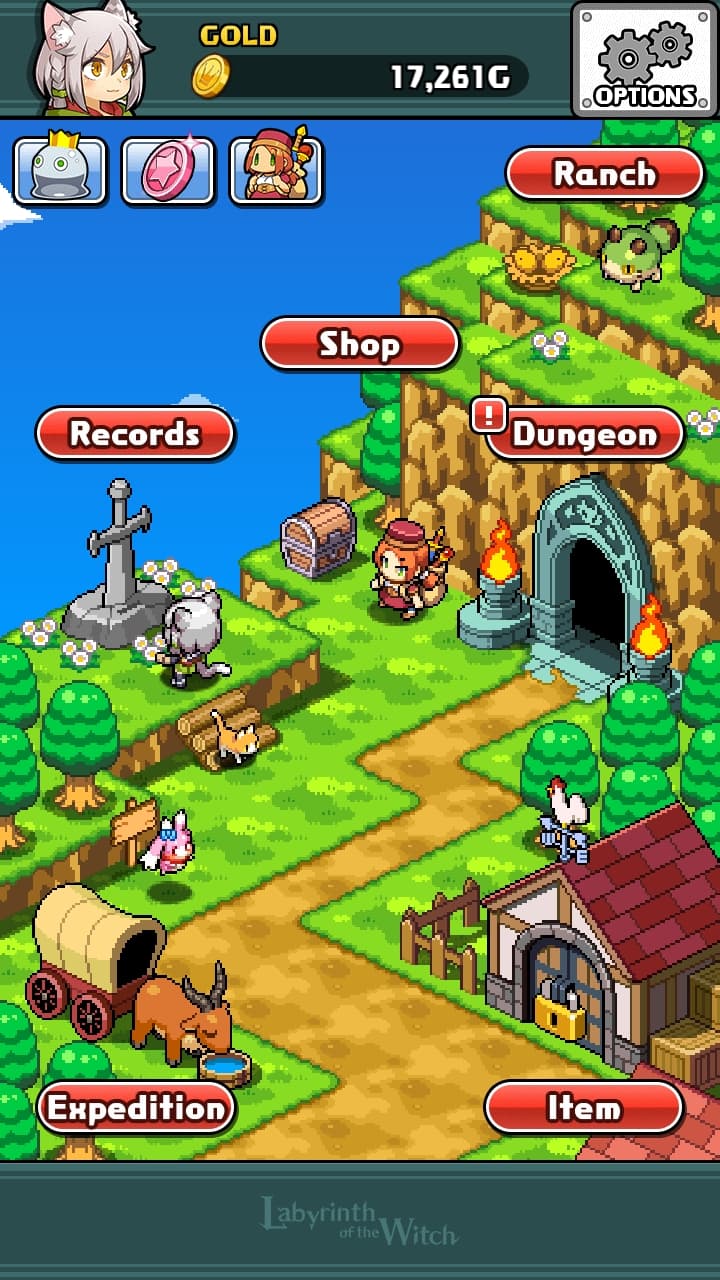
Expedition
This option is… Uhhh… It’s not very useful. You can sometimes send a little fellow off to collect something over a period of some hours. Generally one single solitary thing. Selected at random. It’s usually not very good. You’ll most likely find more use in this than I do.
Ranch
I love the Ranch. This exists as a Collect ‘Em All aspect of the game. Once in a while, a Defeated Monster will actually be Tamed and will go to the Ranch. You can then visit the critter and read a little about them and admire their Character Design in detail. Every videogame needs a feature like this, people work too hard on these things for their work to not get its own little pedestal like this for players to appreciate. Still, I hope one day to see the Ranch’s Monsters put to a practical use in gameplay somehow, maybe costing a certain %Fullness to Summon Monsters organized according to Tiers with higher leveled Monsters costing vastly more to Summon.
All in all, I see a lot of promise to this game. And I’ll be very excited once I hear back from the Developers someday since it’s become one of my favorite ways of killing time. It’s both basic and deep, it’s cute, and it’s endless without ever becoming monotonous to me.
I’m 29 years old today and a parent of one delightful six year old. I love just about everything about videogames, and am thrilled that I can write about them. Advocating for the poor is my other hobby, and I will gladly offer whatever aid I can if approached.
Twitter: @RobertKellyBall
Email: llabtrebor@gmail.com

Comments are closed.